
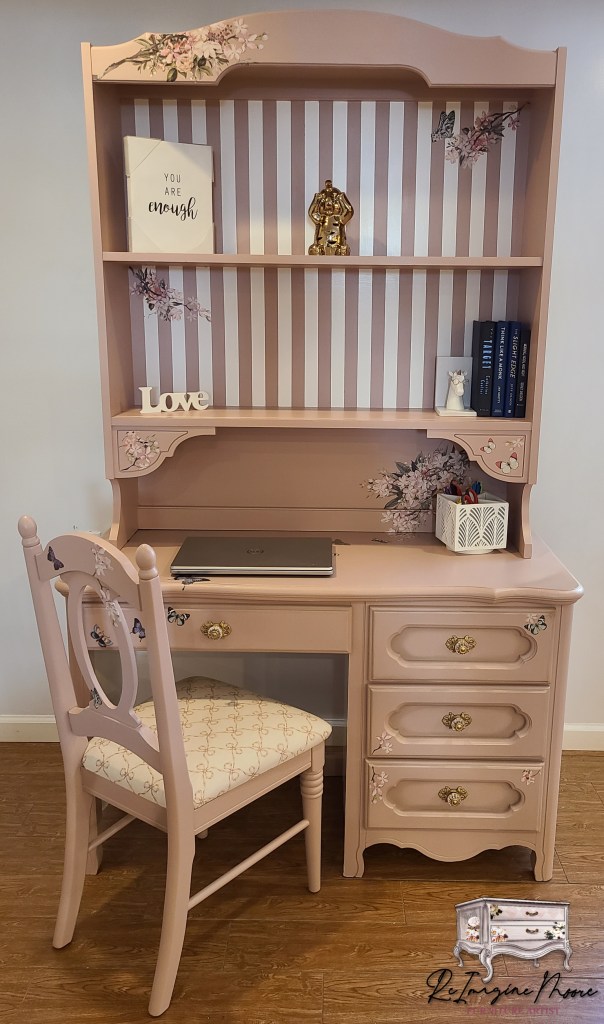
So, if you haven’t noticed already, I’m not really into the whole simple one color and done projects. More is Moore here and this piece is another full of first.
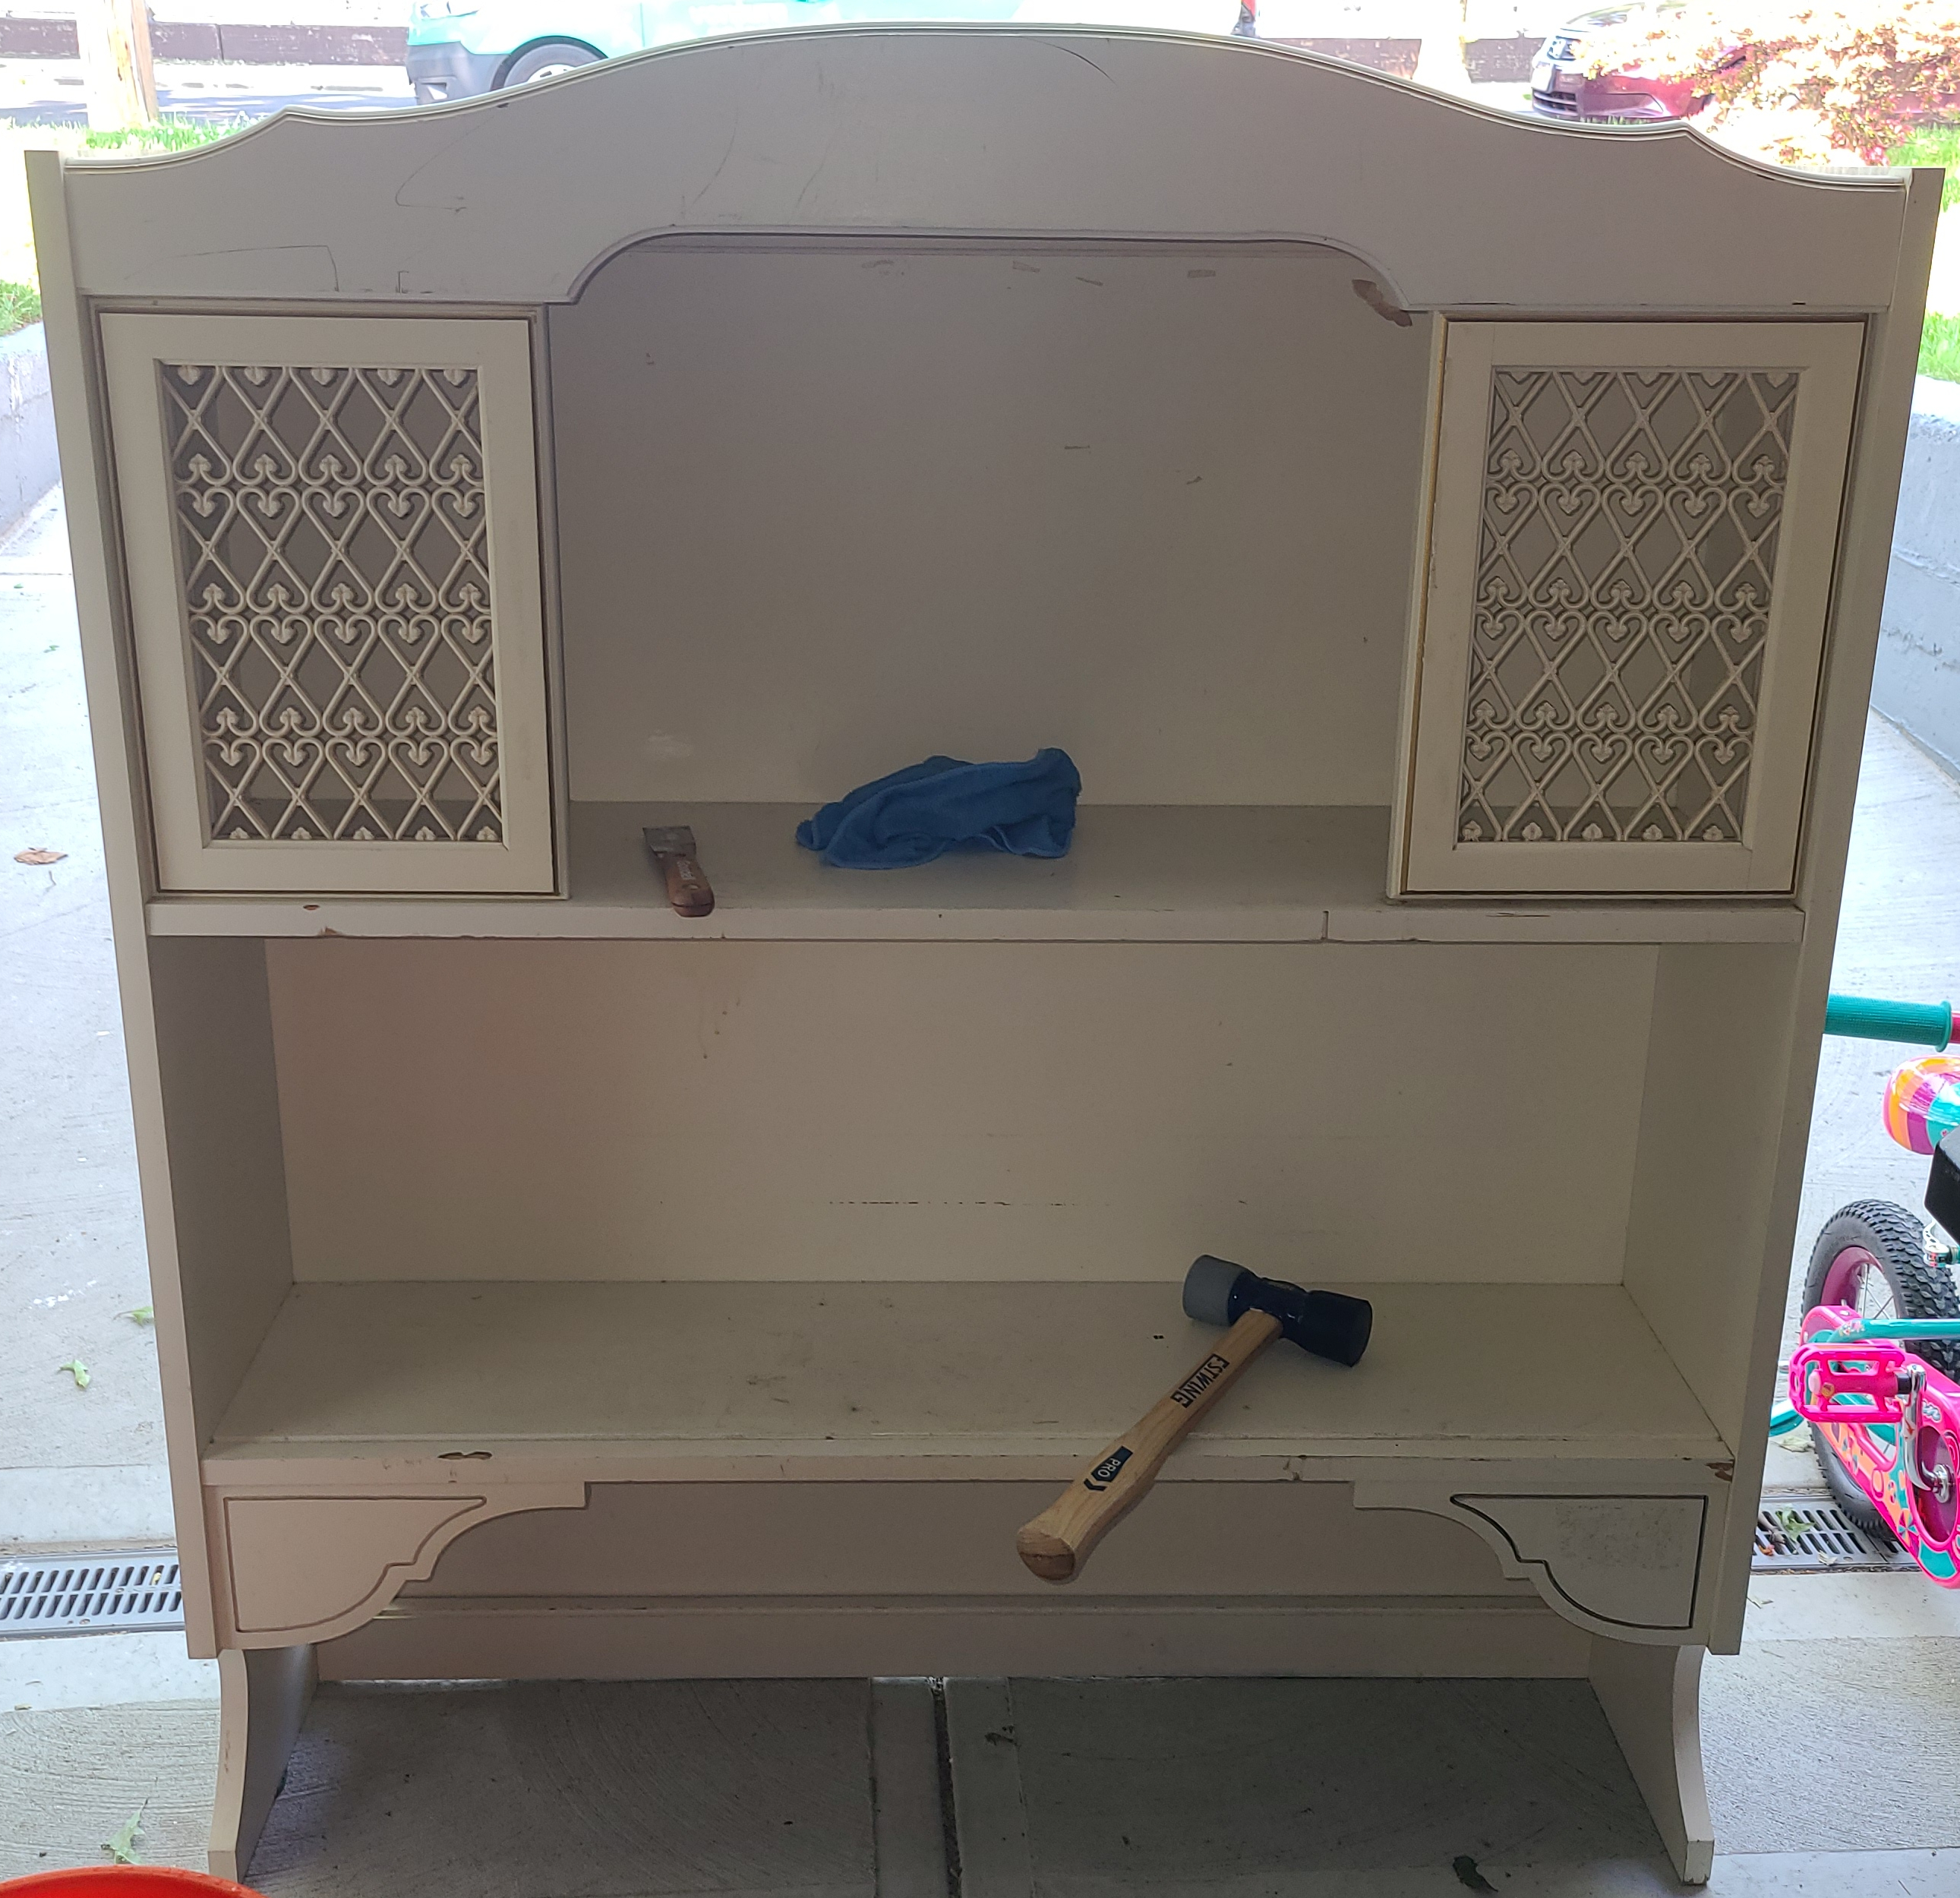
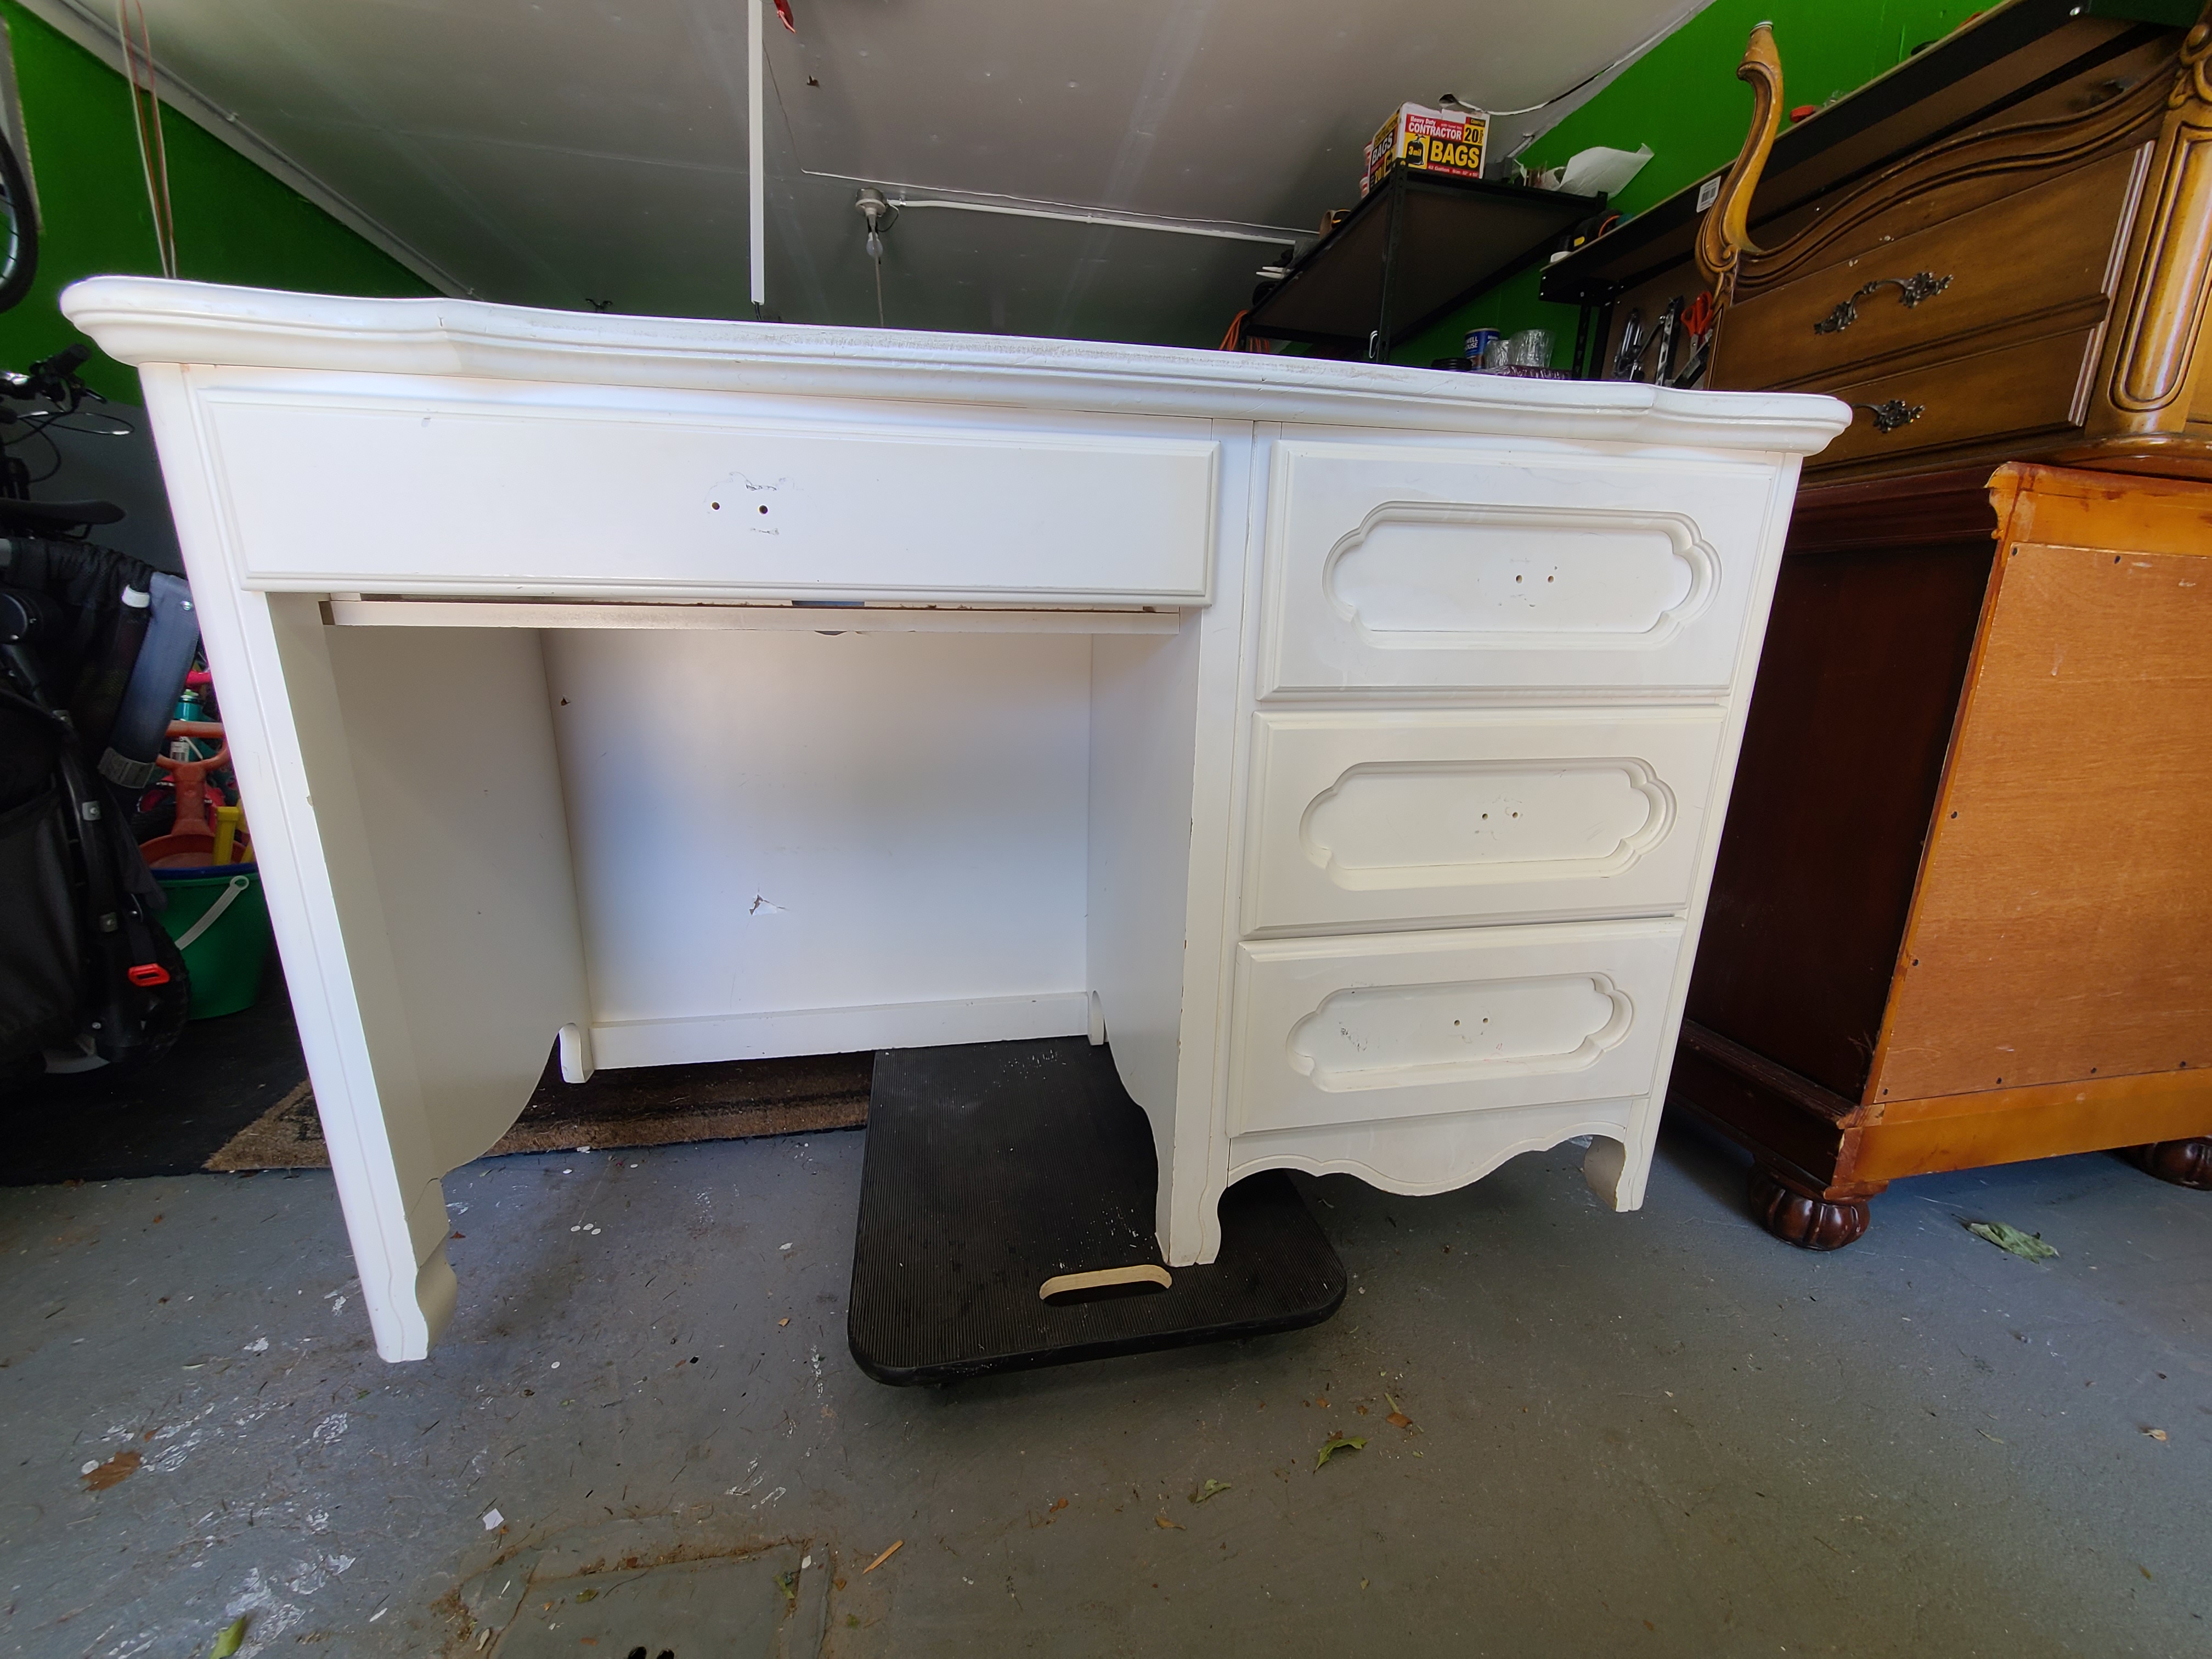
To start if you can’t notice these two pieces are not a pair. The hutch had a matching desk to it, and I wanted the pair, but someone picked up the desk before me, so I missed out. However, I was able to have the hutch piece for free, so I took it, having no idea what I was going to do with it. A few days later the same lovely lady who gave me the hutch contacted me asking if I would like to have the desk shown in the photo as well as a chair, so of course I took it. The sizing and the curvature of the two made them a good match. The desk was made of MDF, and the hutch was solid wood, both heavy and very sturdy.
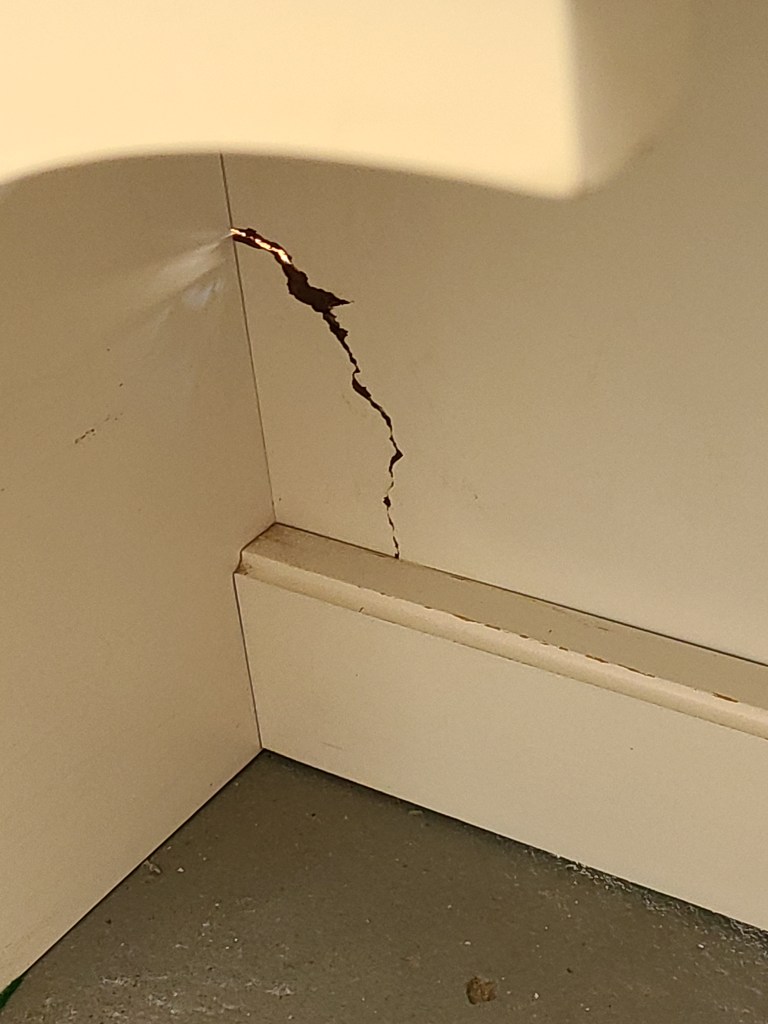
Cleaning with white lightening was the first step. I than knocked out those two window panels on the hutch and did some repair work on a piece that was hanging off the hutch. I used Tite bond wood glue to attach it back on and then came in the next day with dixie mud to fill in the cracks and holes. The next day I used a 220grit sanding sponge to smooth the mud.
In between the drying times for the hutch, I applied a coat of B.I.N shellac primer to the desk. Now, did I need the primer? I have no idea. All I knew is that the desk was made of MDF, and I did not want to have bleed through and so to be safe I primed the desk. I learned a few things after using this product for the first time. 1. Do Not use on a humid day like I did! This was a big mistake. This product dries very fast and with the added heat it was as if it was drying as I applied it. Let’s just say, I had a lot of smooth sanding to do after priming because of the clumping that happened. 2. This stuff smells! Although I regret doing it in the weather I was having that day, I am very glad I did it outside. Make sure to have good ventilation when using this stuff. 3. Use a roller because again this stuff dries super-fast, and you want the fastest route to apply the primer. 4. Prepare to throw away whatever you use to apply the primer. I had to trash my Wooster paint brush, it seemed that it would have been impossible to clean. I’m glad the brush was inexpensive however, it was only my second time using the brush, so I was not very happy about it.
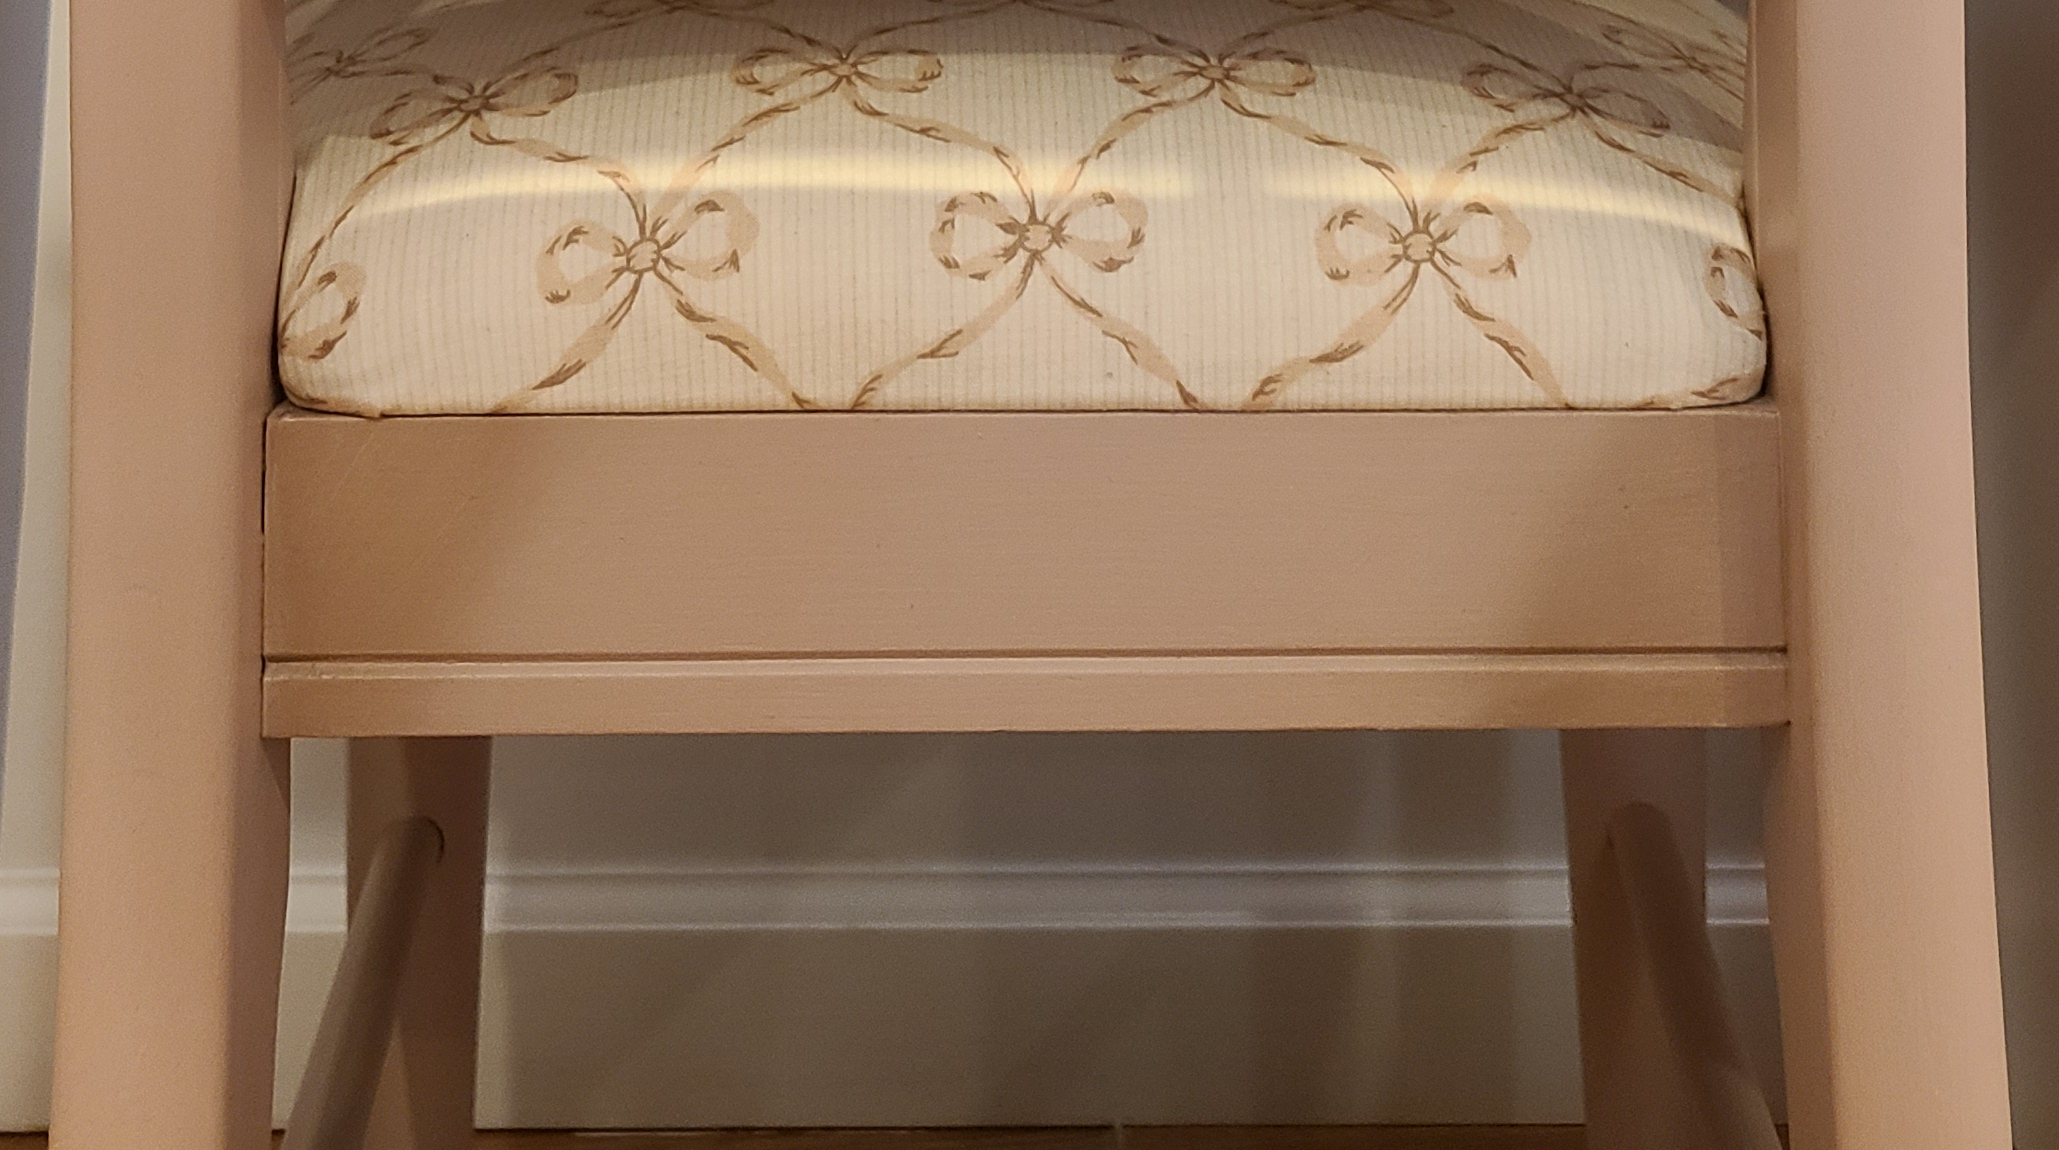
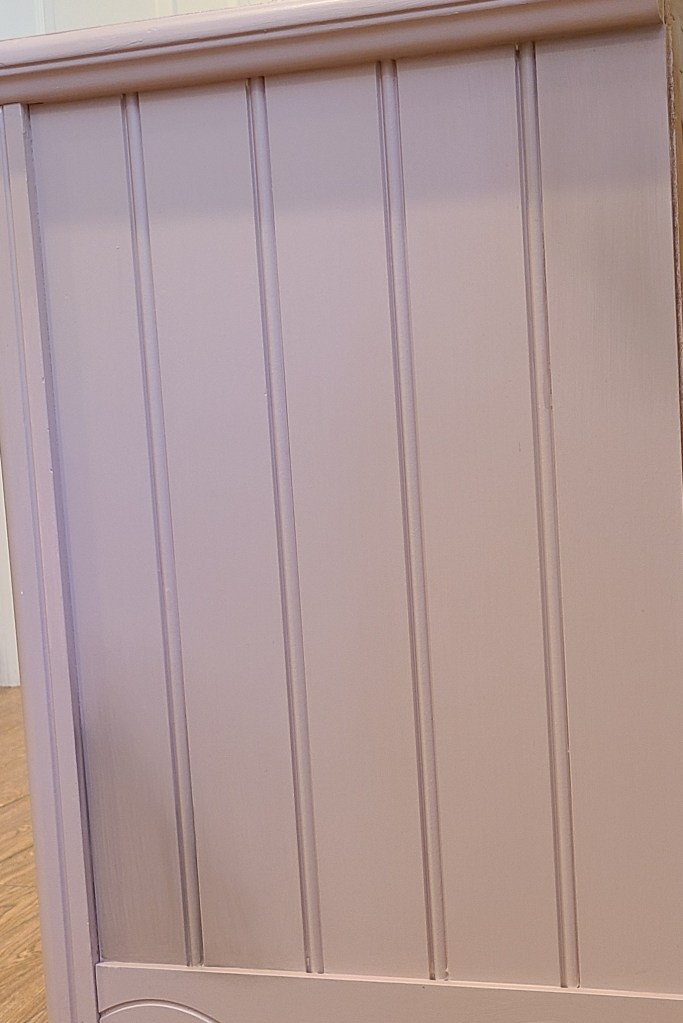
After smoothing out the primer and scuff sanding the hutch it was time to paint. I applied two coats of Dixie Belle’s tea rose which is a beautiful pink color. On the second coat I blended in Dixie Belle’s mud puddle to add some shading in a few areas. I added the shading to opposite corners on the top of the desk, sides and keyboard pull out. I also added shading to the three draws and sides of the hutch. There is also some shading done on the seat area of the chair back and front. The areas I added the mud puddle to were fairly small, so I used the small flat wax brush that game in this group of brushes. After I added the second coat of tea rose, I would add a little bit of mud puddle and just work it gently in the areas I wanted the shading in, spraying just a little bit of water with my mister bottle to allow the mud puddle to blend into the tea rose. I must say for only my second time at blending, I am pretty proud of the results.

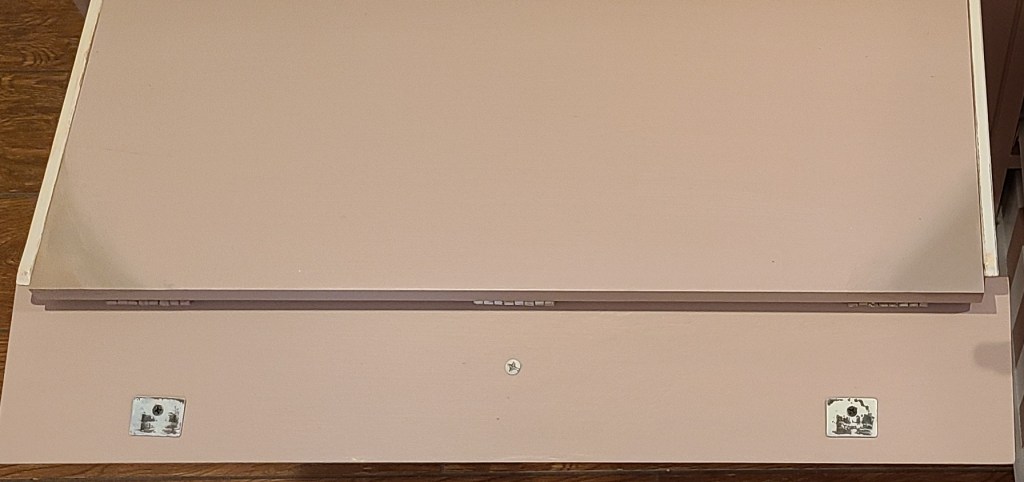
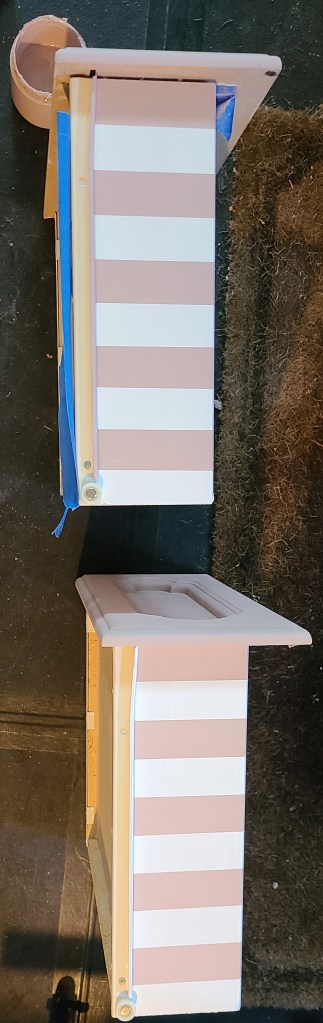
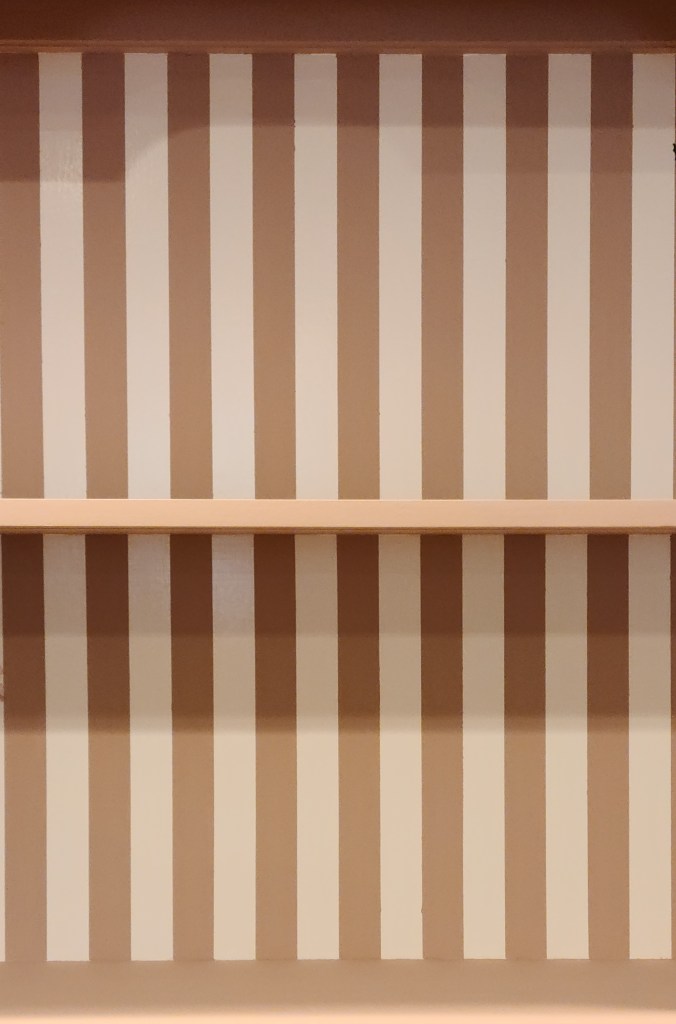
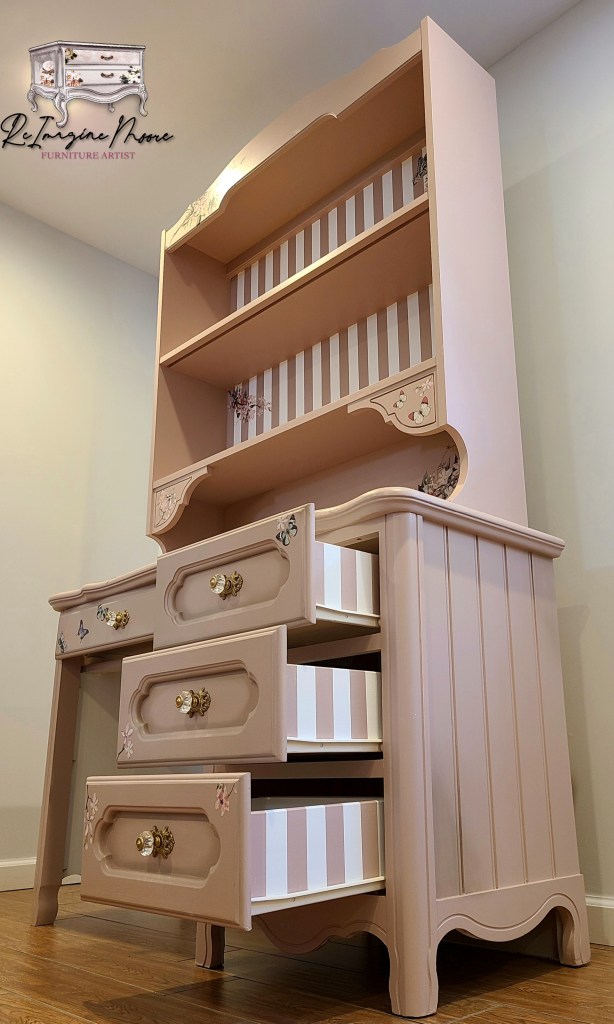
Next was time for some striping or a lot of striping rather. So, here I ran into a little problem. I had no white chalk paint because the stripes were an afterthought, and I also did not want to spend any more money on this project. I did however have white interior paint. Now having no idea whether this was a good idea I went for it and hoped for the best. I painted the inside wall of the hutch and the sides of the draws with the white interior paint and gave it a scuff sand after 2 coats because the paint had a satin finish, and I knew the chalk paint would not grip on to it. I used scotch blue 2inch painters’ tape to create my stripes by using a separate piece of tape to place next to each stripe allowed all my stripes to be even in size. After my tape was placed, I added 2 coats of the tea rose color to create my stripes. I was extremely happy with the results.
A Real Moment

This is a photo of me holding my 8-month-old daughter at the time while painting stripes on the draws. The reason I share this photo is because it’s real, and by real, I mean nothing is easy. She woke up while I was painting which is a common occurrents in my house. I am a mother of 3 and trying to build my business is by no means an easy task. I am interrupted every time I even attempt to get anything done and although frustrating its reality. So, this is just a reminder that nothing is easy but when you really want something, push through the tough times and never doubt your ability to achieve what you want.

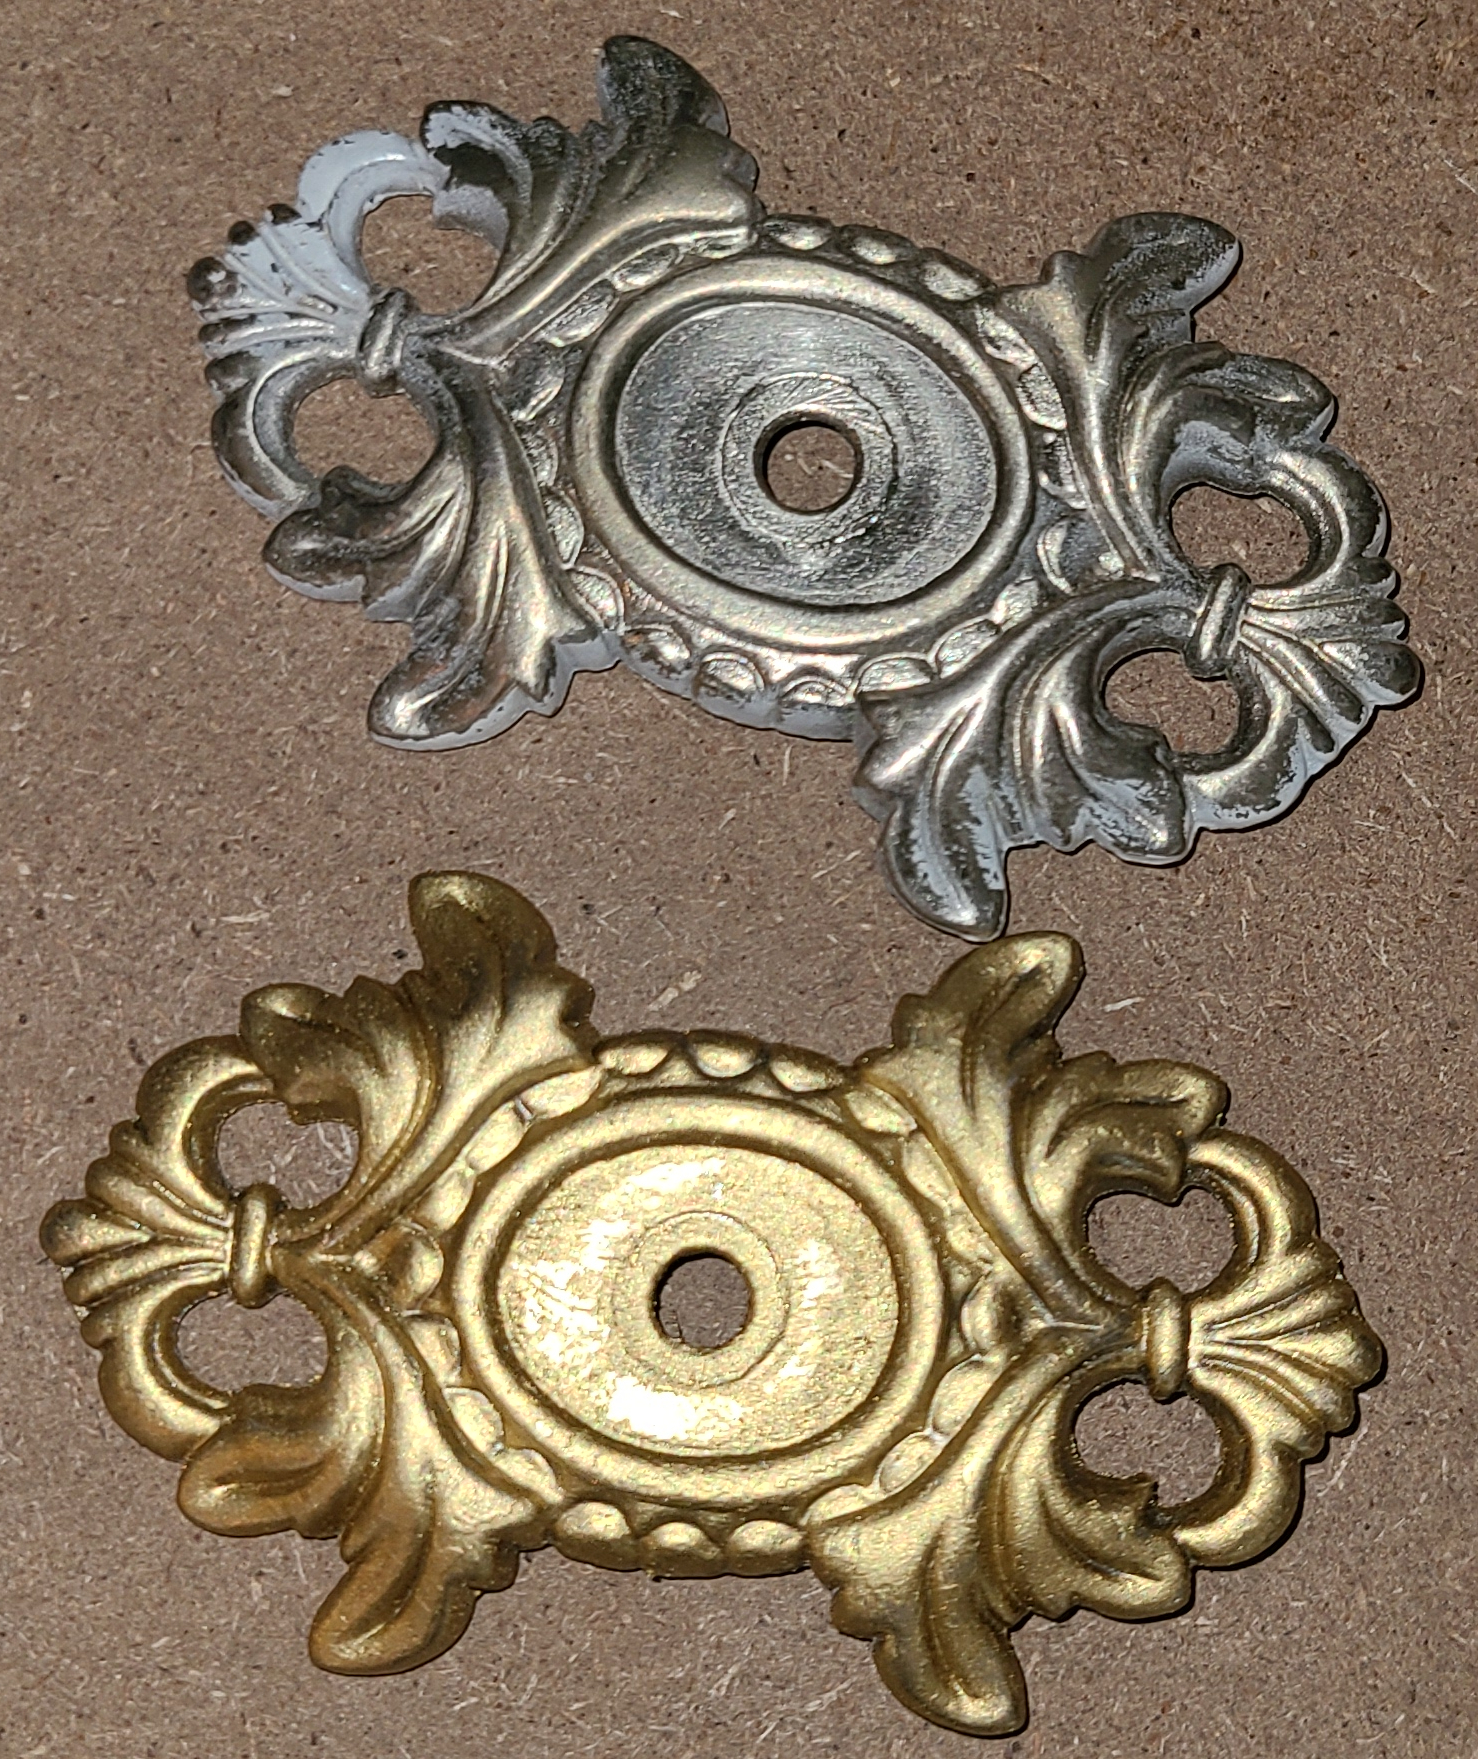
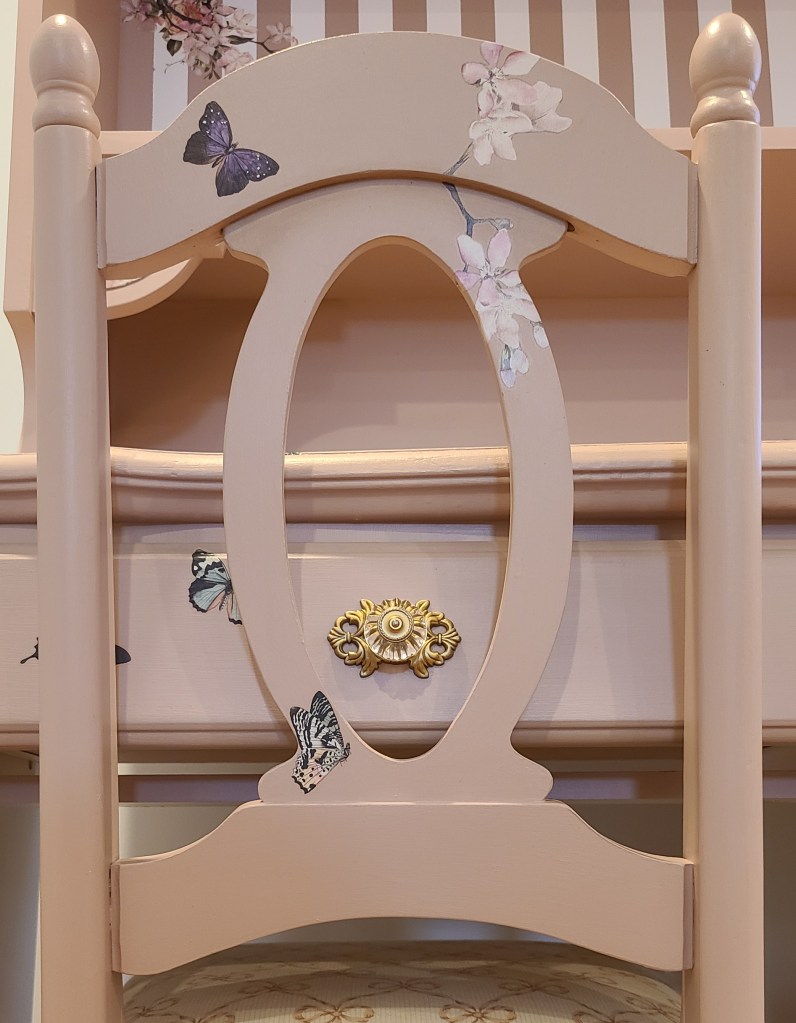
Back to it…. next step was the hardware and transfers. I used gold gilding wax to change the silver-colored hardware to gold, this took 2 coats.
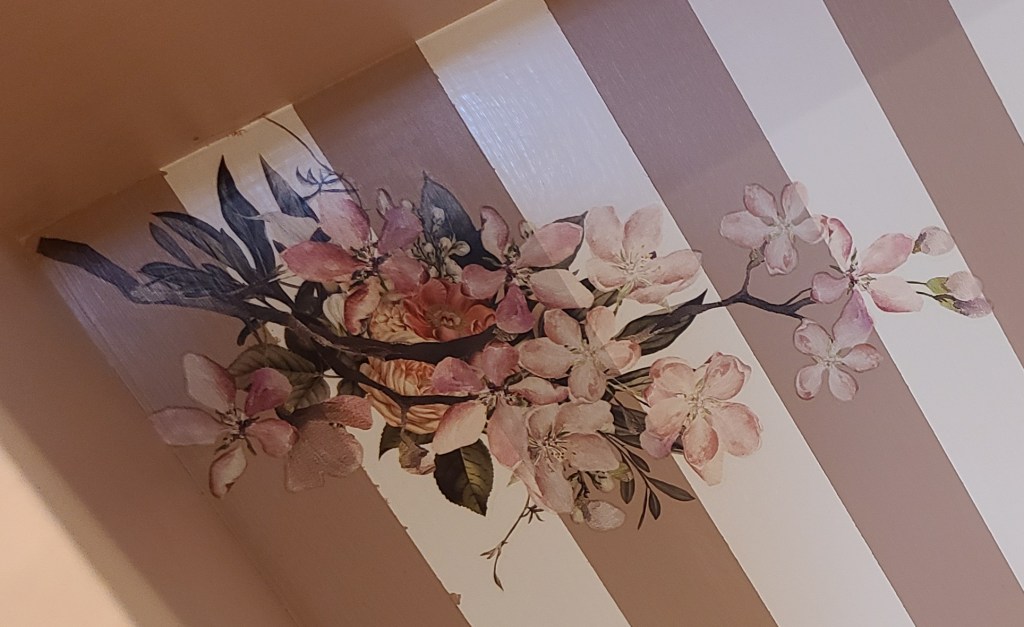
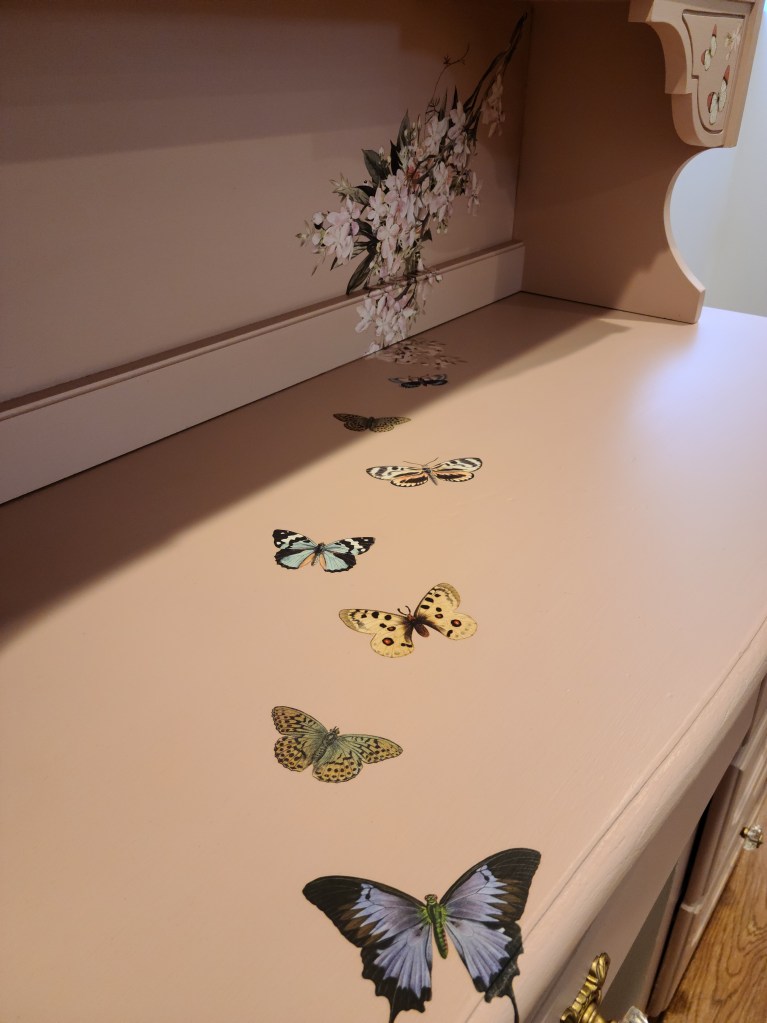
So, my paint color was actually picked after I picked the transfer. I knew I wanted this desk to be for a little girl / teen and I knew I wanted to try a transfer for the first time on this piece. After searching through all of Redesign with Prima transfers, the Blossom Botanical one spoke to me, and I knew that was the one. The transfer comes in three sheets with large branches full of beautiful blossoms and scattered butterflies. The images look beautiful the way they are placed on the sheet already, but I had a specific look and placement I was going for. So, I cut the entire transfer up and placed individual pieces all around the desk, hutch and chair with painters’ tape to make sure I like the placement of the images before attaching them. I used the stick that comes in the transfer tube to attach the transfers by scratching the images onto the piece and slowly removing the plastic off.


Finally, I used two coats of Dixie Belle’s satin clear coat to seal everything. I recommend using a 220-grit sanding sponge after each coat to smooth out brush strokes and remove dust or brush bristles that may have dried onto the surface. Also, you should buff out anything you use gilding wax on after it dries, it is a slight difference but there is a difference in the shine after you buff it.
And here it is, the piece that I personally thought was going to sell fast but 6months later and it is still sitting in my home. But I know its owner is out there somewhere.
Check out ReImagine Moore on Facebook and Instagram for more photos and latest updates.
Affiliate Disclaimer: ReImagine Moore participates in the Amazon Services LLC Associates Program, and Maika Daughters affiliate program. These affiliate advertising programs are designed to provide a means for sites to earn advertising fees by advertising and linking to Amazon.com and Maikadaughters.com. This means if you purchase an item through a link on this site, I may receive a small commission with no extra cost to you. By using my links, you are showing support and I truly appreciate you for it.
